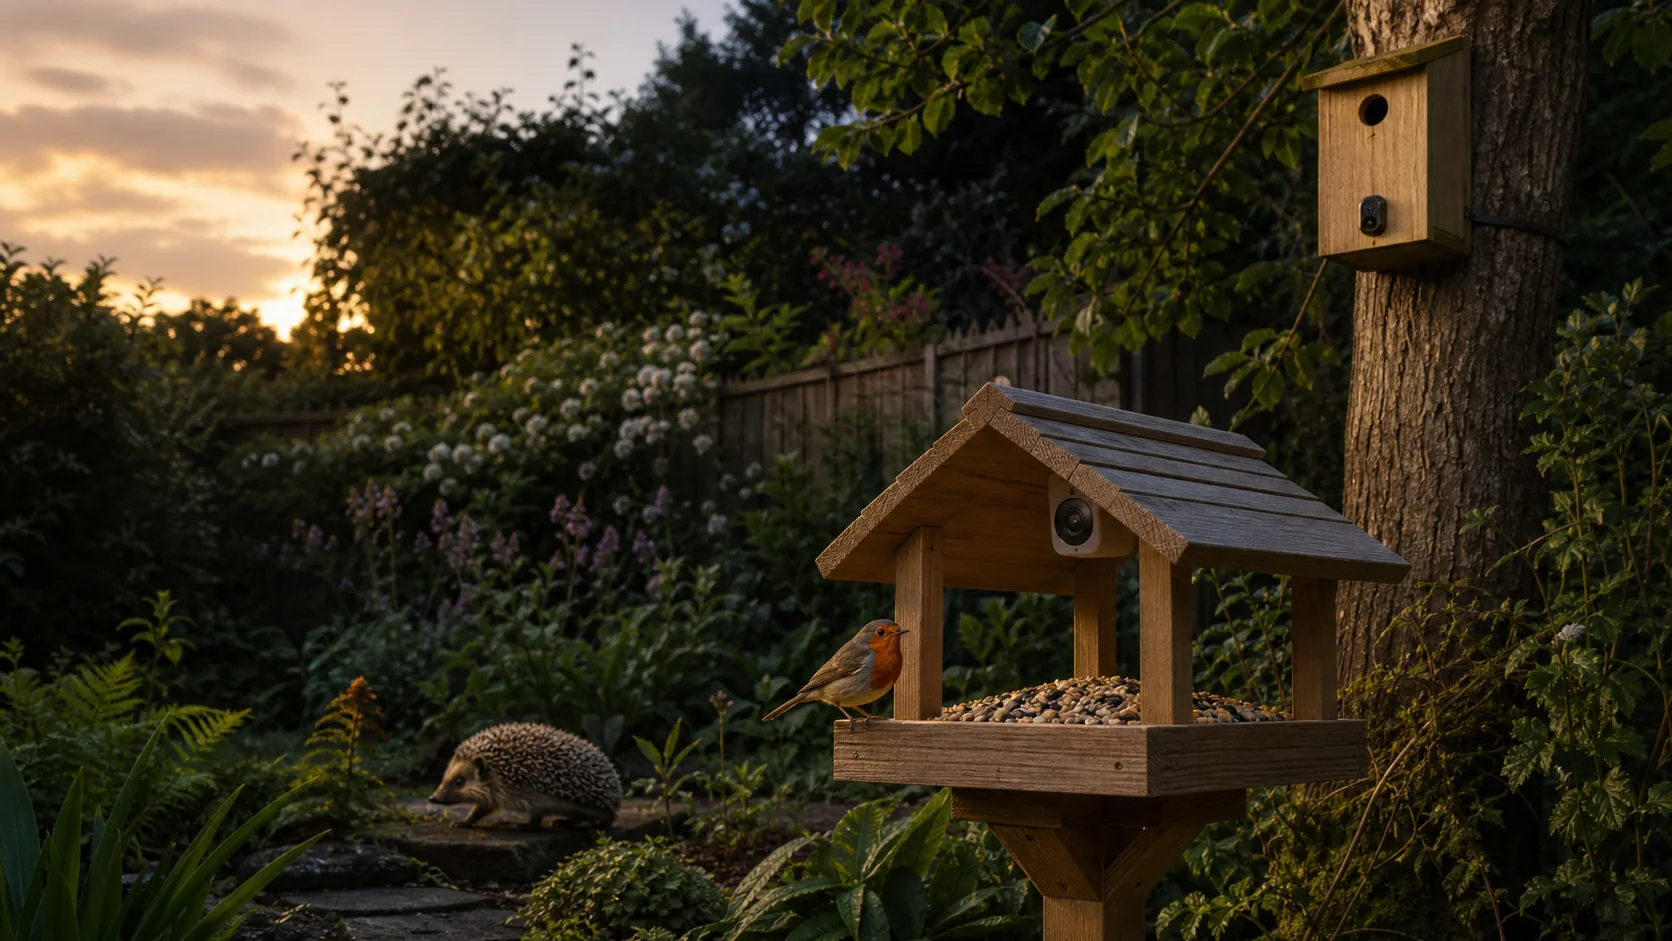
A wildlife camera waits for a trigger, wakes its imaging system and saves a clip or photograph. The useful buying questions are how it detects movement, how quickly it becomes ready, what it records after dark and where the file goes.
Most trail cameras use a passive infrared (PIR) sensor to detect a changing heat pattern moving across the scene. The camera then starts its image sensor, exposes the scene with daylight or infrared illumination and writes the result to local storage. Connected models may also send an alert or upload media.
1. Detection: what the PIR sensor sees
A PIR sensor does not identify an animal and does not measure distance like radar. It responds when infrared energy changes across zones in its field of view. A warm animal moving across the frame commonly creates a clearer change than the same animal moving directly toward the camera. Sun-warmed vegetation, rapidly changing light and moving branches can also create false events.
This is why placement matters. Aim across a likely route, keep moving foliage out of the detection area and avoid a horizon dominated by rising or setting sun. The quoted detection range is a manufacturer test condition, not a promise that every animal will be captured in a British garden.
2. Trigger, wake-up and recovery
After detection, electronics must wake, set exposure and begin recording. A headline trigger-speed figure describes only part of this sequence. Also check the delay before the first usable frame, the pre-recording buffer if one exists, clip length, and the recovery time before another event can begin. A fast first clip followed by a long recovery can miss the second animal on a busy route.
- Mount the camera rigidly at the intended height.
- Walk across the route at the nearest, middle and farthest positions.
- Repeat after dark without adding visible light.
- Check the first frame, motion blur, exposure and time between clips.
- Change one setting at a time and keep the useful result.
Use the printable placement and trigger worksheet to record the route, controlled attempts and misses without treating one successful clip as a universal product result.
3. Day and night recording
In daylight the image sensor uses visible light. After dark, most wildlife cameras switch to monochrome and use infrared LEDs. Low-glow arrays may show a faint red emission; no-glow arrays are usually less conspicuous. Wavelength alone does not determine picture quality. Lens aperture, sensor sensitivity, illumination power, subject distance and exposure control all contribute.
At short range, excessive infrared can wash out pale fur or a nearby wall. At long range, the subject may trigger the camera but remain beyond useful illumination. See the detailed wildlife infrared camera comparison.
4. Where recordings are stored
A conventional trail camera generally writes files to microSD. A local-Wi-Fi model may create a nearby hotspot so a phone can change settings or download files without opening the housing. A home-Wi-Fi camera joins the router for alerts and remote viewing. A cellular camera uses a SIM and mobile data. These labels describe different workflows and costs.
Confirm whether recording continues during a broadband outage, what happens when the card is full, whether full-resolution clips can be exported and which features stop without a subscription. Compare microSD and cloud storage and local Wi-Fi, home Wi-Fi and cellular cameras.
5. Power and weather
Event frequency, clip duration, infrared use, signal strength, live viewing and temperature all affect energy consumption. Solar panels assist a battery only when the light received replaces the energy used. IP ratings describe enclosure tests; they do not remove the need to inspect seals, protect cable entries and open the camera only in dry conditions.
Which type suits a UK garden?
| Need | Starting type | Trade-off |
|---|---|---|
| Discover wildlife in a remote corner | Local trail camera | Manual retrieval |
| Live view and alerts near the house | Home-Wi-Fi camera | Coverage and vendor-service dependence |
| View feeder visitors close up | Fixed-focus feeder camera | Cleaning and charging |
| Observe inside an empty fitted nest box | Purpose-built nest-box camera | Pre-season installation and welfare constraints |
Next step
Choose the workflow before the headline specification. Compare the source-checked UK wildlife camera options, or use the complete buying-guide library for placement, privacy, storage and power.
Why wildlife cameras produce false triggers
A PIR sensor responds to a changing heat pattern, not to an animal identity. Sunlight heating leaves, a warm branch moving against a cooler background, or rapid temperature change can therefore produce an event without useful wildlife in the frame. The remedy is usually placement before sensitivity: remove the moving object from the detection zone, shade the sensor from low sun and aim across a stable background.
Very warm weather can also reduce the temperature contrast between an animal and its surroundings. Sensitivity controls may help, but a higher setting can increase unwanted events. Keep a one-week log of events, useful captures and battery level so a change can be judged from evidence rather than one clip.
Specifications that need context
- Trigger speed
- The delay between a qualifying sensor event and image capture under the maker’s test conditions. It does not include every exposure or recovery variable.
- Recovery time
- How soon the camera can become ready for another event after saving a clip or photograph.
- Detection range
- The stated PIR response distance in specified conditions; it is not the same as identifiable image or infrared illumination range.
- Interpolated megapixels
- A file-size or processing output that can exceed the physical sensor resolution and does not by itself add captured detail.
- Local Wi-Fi
- A nearby phone-to-camera connection. It should not be described as remote viewing unless the product also joins a router or mobile network.
Primary and specialist references
The PIR explanation was checked against the Bushnell trail-camera manual library, including its explanation that a PIR detector responds to a change in infrared level, and the specialist NatureSpy guide to trail-camera detection zones. These sources explain the technology; they do not validate the performance of every product in the HedgeLens catalogue.
Product-specific trigger, sensor, storage and power claims remain attributed on each exact-model record. See the HedgeLens evidence method for the distinction between a manufacturer specification and a hands-on measurement.