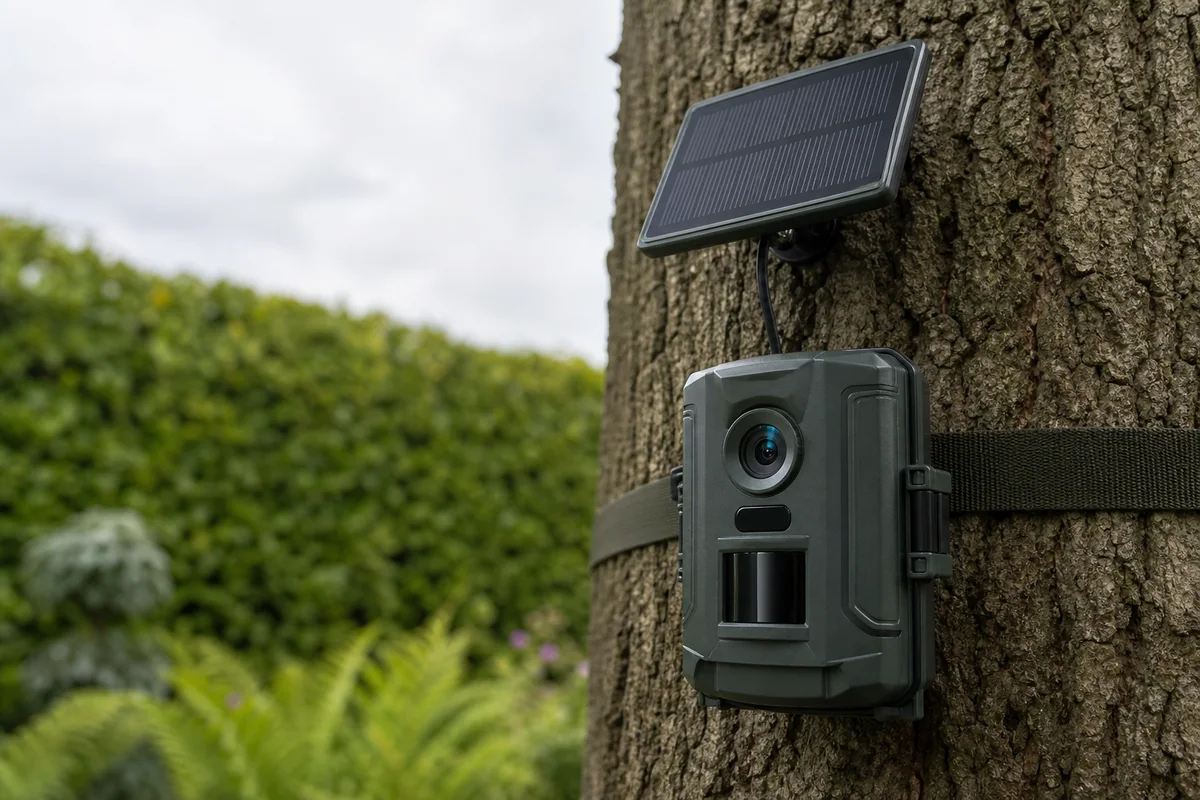
Infrared type affects how visible the camera is after dark, but it is only one part of night image quality.
What the labels mean
No-glow arrays normally use light around 940nm and are difficult for people to see. Low-glow arrays often use roughly 850nm and can show a faint red emission. Terminology varies, so use the manufacturer wording as a claim rather than an independent measurement.
The trade-off
Low-glow illumination can be more efficient for a given sensor and may support brighter detail or longer reach. No-glow is less conspicuous, useful near shy wildlife or where a visible red source would be distracting. Exposure control, sensor size, lens and distance matter as much as wavelength.
For bird boxes and hedgehogs
Inside a box, restrained no-glow illumination avoids a visible source and reduces harsh hotspots at very short range. For hedgehogs, mount low and test exposure on a similarly sized object; a powerful array can overexpose an animal close to the lens.
Sources and review standard
This guide is editorial information for UK consumers. Product-specific claims must be checked against the linked primary source. Wildlife, privacy and electrical-safety guidance should be confirmed against the responsible official body where it affects a live installation.
No-glow is usually less conspicuous; low-glow can be more efficient. Useful night footage still depends on sensor sensitivity, lens, illumination power, subject distance and exposure control.
How to check night performance responsibly
Test the empty location with a neutral object at the nearest and farthest expected subject positions. Look for a white hotspot close to the lens, dark corners, motion blur and a slow switch between day and night modes. Do not introduce visible lighting merely to improve a review clip near nocturnal wildlife.
Short range changes the answer
Inside a nest box or hedgehog habitat, quoted long-range illumination is irrelevant and can indicate excessive output for the space. Confirm minimum focus distance and whether infrared intensity can be reduced. For an open garden route, aim across the path so the subject remains in the illuminated area longer.
- Infrared type stated by the manufacturer.
- Closest usable focus distance.
- Exposure on a subject-sized object.
- Visible red emission checked in darkness.
- Reflection from glass, pale walls or wet leaves.
Apply this to the bird box camera shortlist, the hedgehog camera comparison and the bird-box installation guide.
How an infrared wildlife camera records motion
Most night wildlife cameras combine a passive infrared sensor, which responds to changes in infrared energy moving across its detection zones, with infrared LEDs that illuminate the scene after the trigger. The detection sensor and the recording sensor are different components: a quoted detection distance does not guarantee focus, exposure or identifiable detail at that distance.
For close garden subjects, test the nearest likely position as carefully as the farthest. Wet leaves, pale walls and glass can reflect infrared back into the lens. A motion-sensor label also says nothing about recovery time between clips, so inspect consecutive events rather than one successful recording. The full sequence is explained in how wildlife cameras work.